How to install a toilet in your RV or Travel Trailer.
It's easier than you think to install a better toilet in your RV or Travel Trailer. And you can get the job done in under an hour.
Our 2007 Airstream came with an Aqua-Magic toilet, which we did not like. It was uncomfortable, made of plastic and stained easily. Not to mention it just looked ugly in 80's yellow.
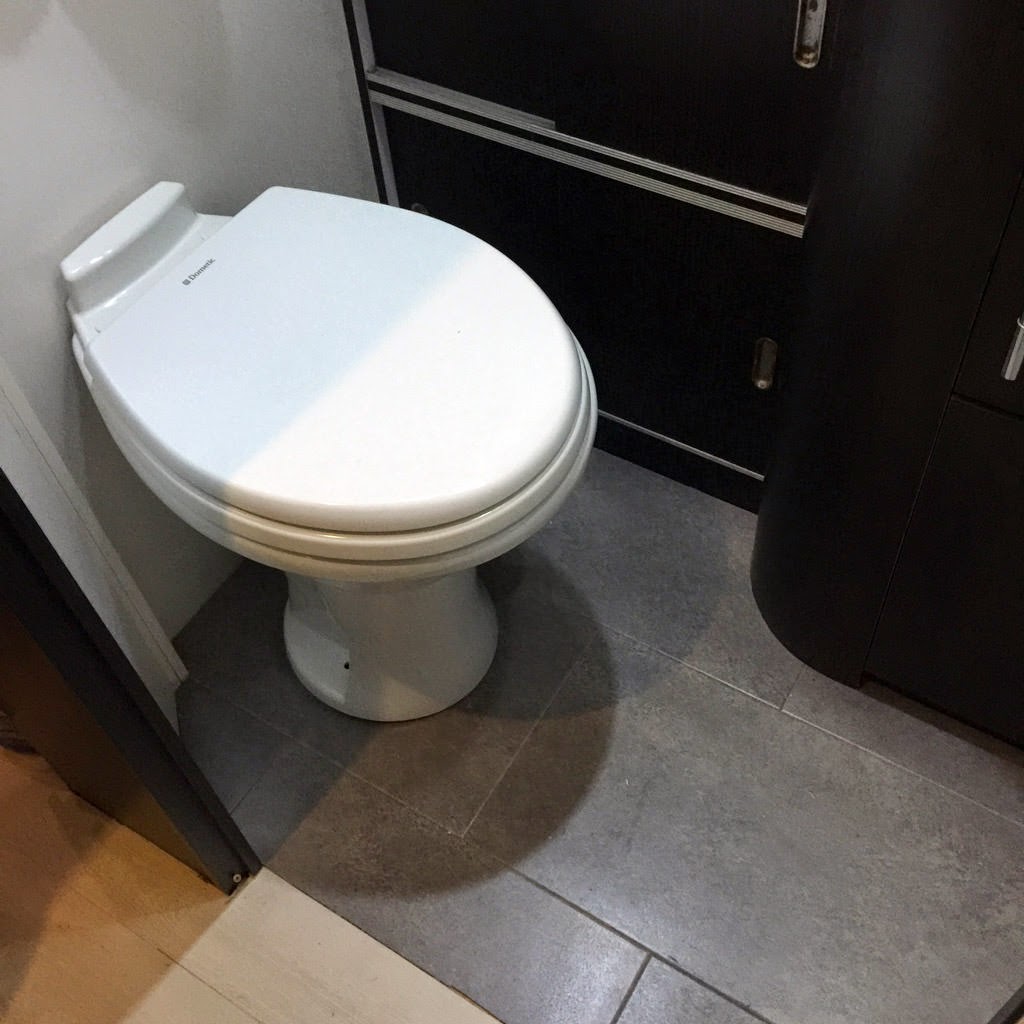
So we purchased the Dometic 310 Porcelain toilet from Amazon, which is a standard height toilet. Has a smaller pedestal that it sits on and features a wood lid and seat.
Installation is simple enough for even the least technically capable. The first thing to do is turn off the water. Make sure to turn off your water pump and disconnect from city water. You might want to open the sink faucet nearest the toilet to release pressure from the lines.
Now, let's get started.
Our original Aqua-Magic was bolted directly over the black tank. On each side there were two 5/16 nuts. I first removed both of these nuts. On the rear is a 1/2 female hose connection that simply screwed into the back of the toilet. After I removed both nuts and unscrewed the water connection, the old toilet simply lifted off the floor.
Installation of the new toilet was a breeze. Now these details are in relation to our Airstream, yours milage my vary.
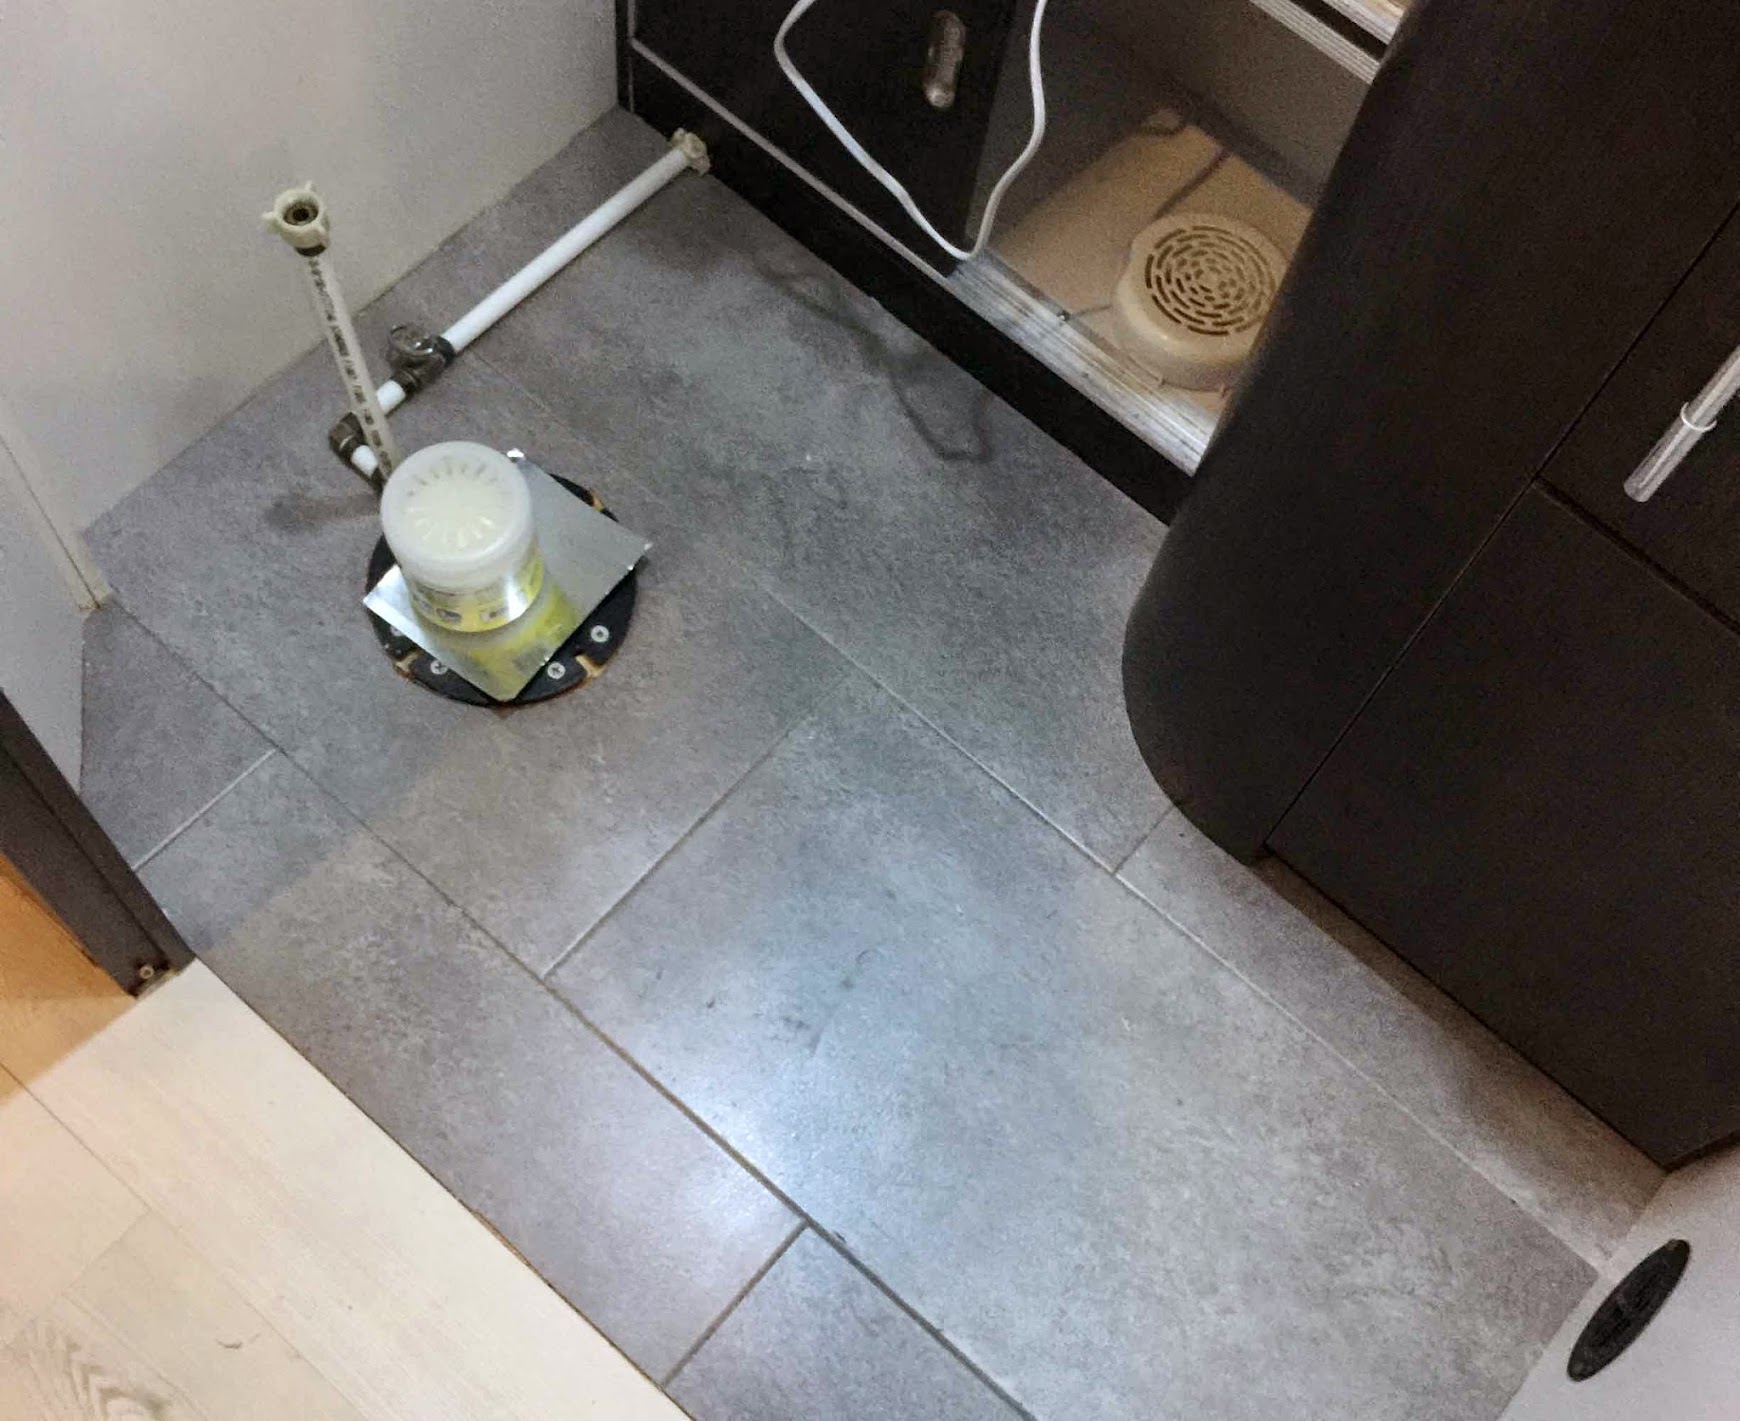
The location of the cold water hookup on the Dometic is down near the base, so I had to cut the pex piping seen in the above photo of mine.
I used a Brascraft push connect with shut off 1/2 to 1/2 to connect the toilet to the 1/2 pex on the floor I cut.
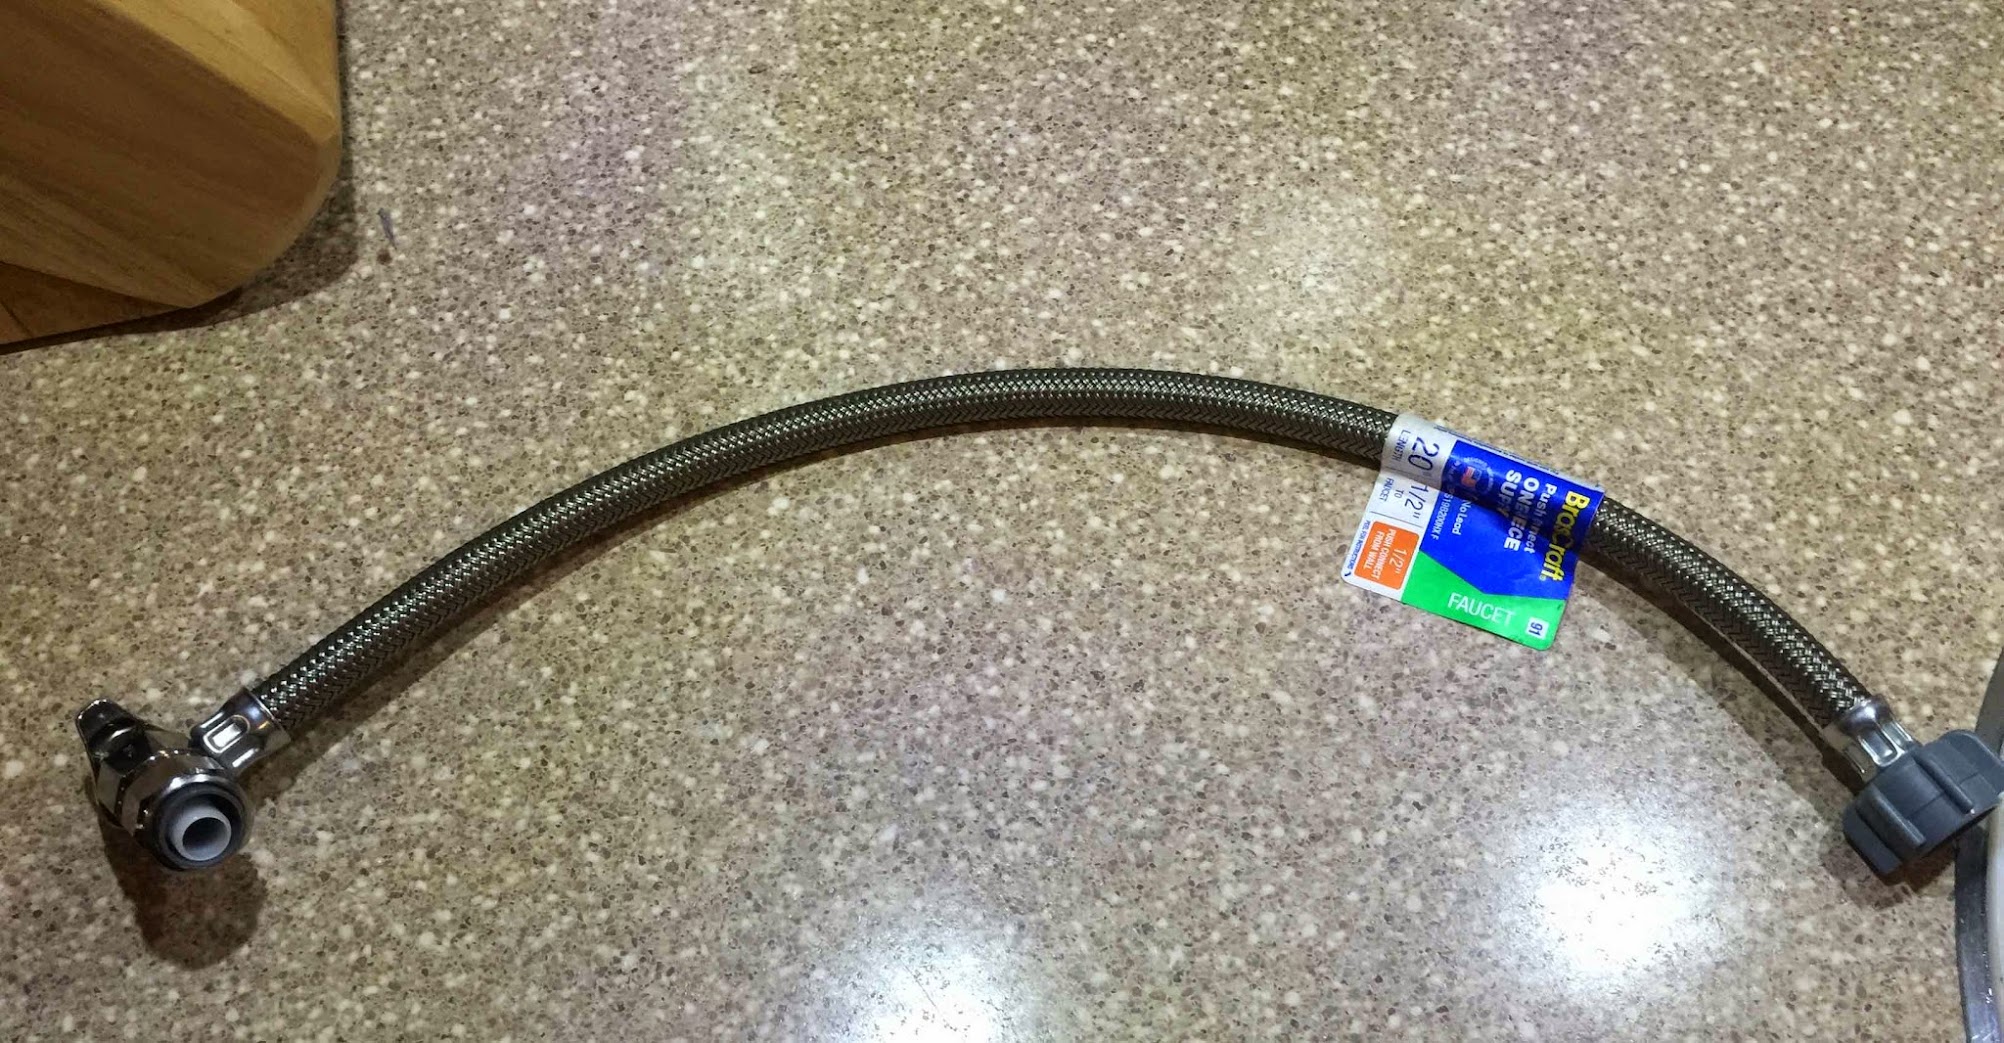
The push connect works just like it's name implies. You simply cut the pex and then push the connection over the pipe till it clicks.
The only downside for me was I could not find a piece shorter than 20 inches. But it still works.
Then I just connected the other end to the toilet.

Final product: