Purchasing a used Airstream meant there would be some things to replace or fix. One of the items on our list in preparation for full timing was the exhaust vents in both the head and shower.
On our 2007 Airstream International Signature, both the head (bathroom) and shower have a 6 1/4″ Ventline Vanair exhaust fan.
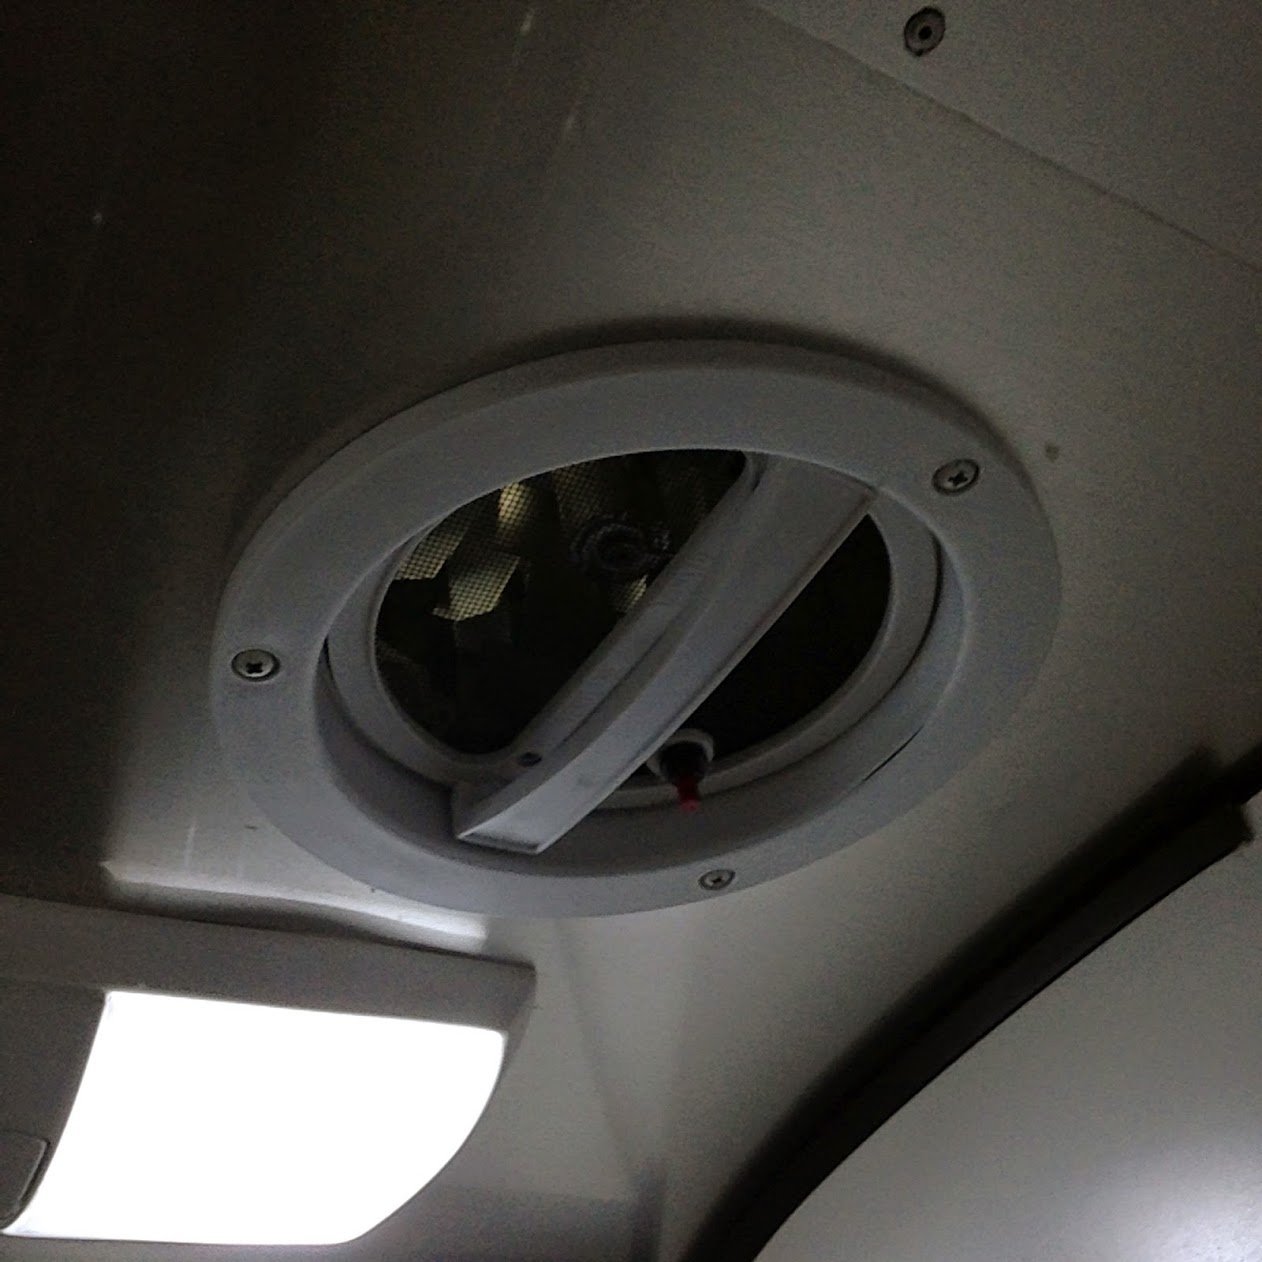
These fans are twelve volt, manually open, and have a simple on/off switch.
I purchased new ones from Amazon: [Ventline Vanair Trailer Roof Vent w/ 12V Fan – Smoke]
Two of them together with free shipping cost $99.90 at the time of this writing.
Supplies Needed
- Ventline Vanair Trailer Roof Vent 6 1/4″
- Loctite® PL® S30 Polyurethane Roof and Flashing Sealant
- Adseal Premium Quality Sealant White
- 8 in 1 Painters tool (These are super handy to have anyhow)
- Flat Scraper
- Dripless Caulk Gun
- Phillips head screw driver
- Wire Cutter
- Wire stripper
The installation of one of these vents is a straight forward process. If you can use basic hand tools, you can do this yourself. The most difficult part of the project is scraping old caulking off the roof.
The Procedure
Make sure you’re trailer isn’t hooked up to power and the battery is in “storage” mode (no power being drawn from the batteries).
Starting inside, I removed the 3 screws holding the bottom flashing in place.

Then I turned my attention to the roof, where the majority of the work will take place.
Make sure to bring your screw driver, 8-in-1, scraper and some cleaning supplies with you so you’re not going up and down your ladder.

On the roof, if you’ve got a previous owner like me, you’ll find two screws on the top of the Vent covered with caulk. I had to dig mine out to find the screws. Remove both of the screws and take the cover off revealing the fan.
On the inside, you’ll discover sheet metal screws going around the inside lip of the fan unit.

You’ll need to remove all in order to remove the fan.
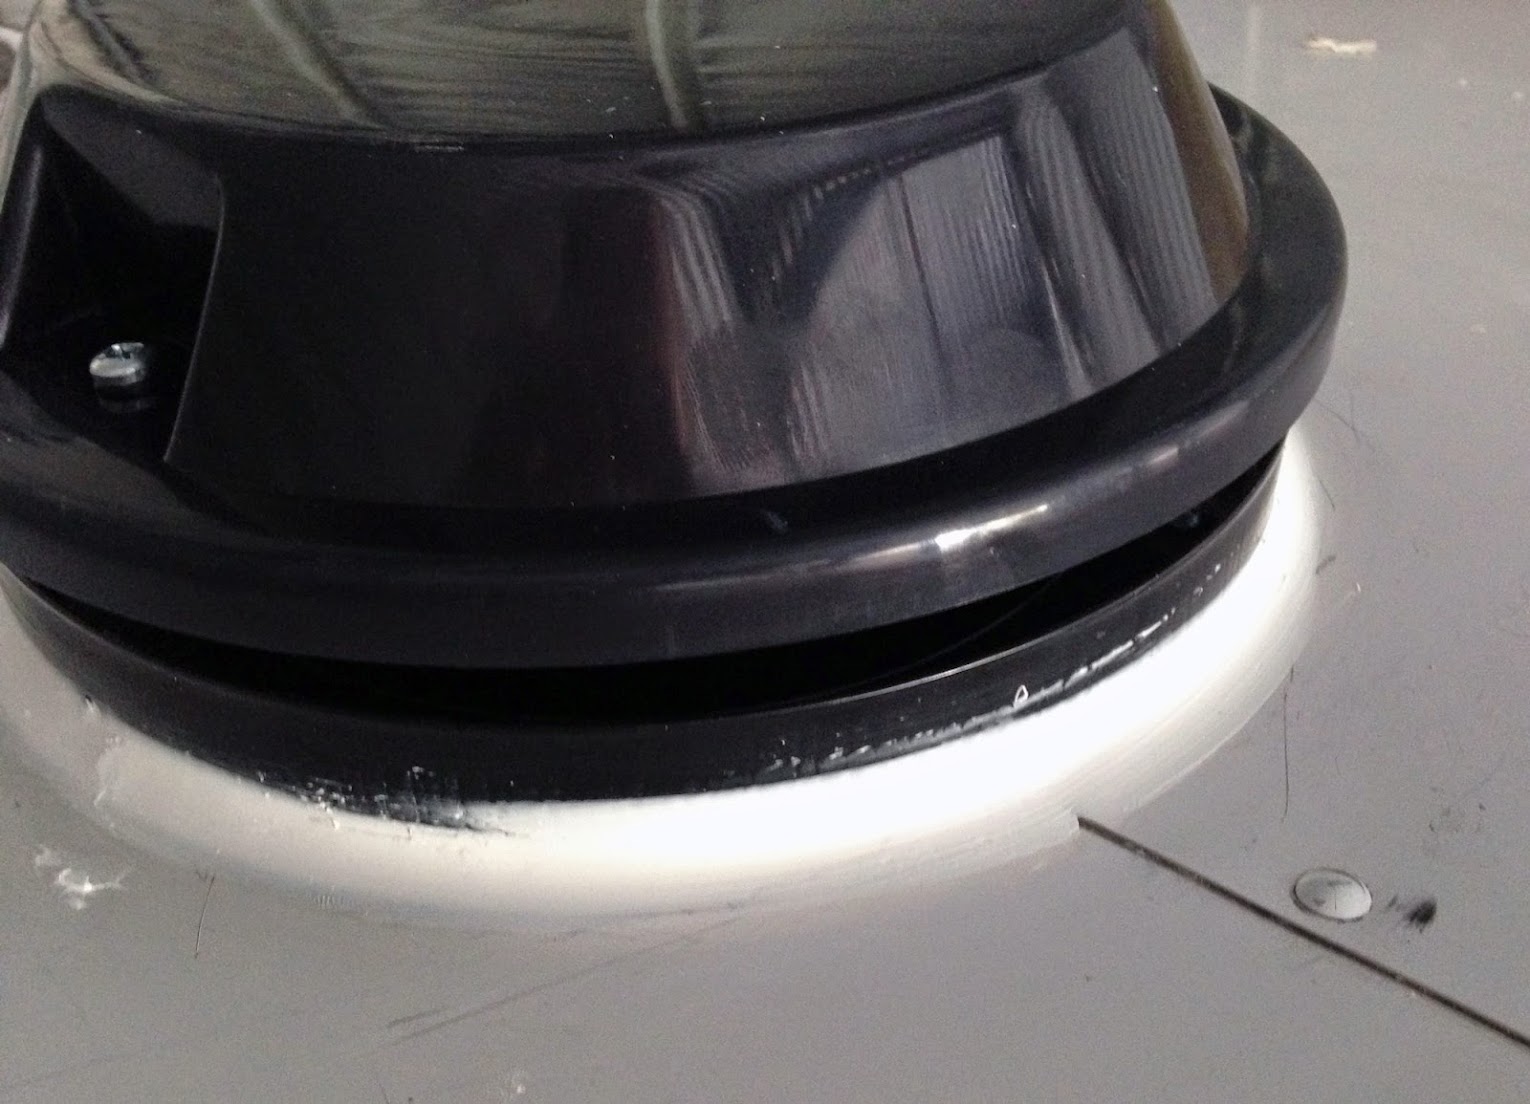
Now comes the difficult part. It’s glued to your roof with the caulk, creating a tight seal.

You’ll need to scrap off the caulk. First scrape around the edge as much as you can until you can wedge your flat scraper under the edge. You’ll need to work your way all the way around the fan until you can lift it up.
Once you can lift the unit away from the roof, you’ll see two wires, black and white. I cut them as close as I could to the original fan unit, leaving as much wire as possible coming from the Airstream to connect to.
You can now discard the old exhaust fan in the trash.

Now is the time to prep your surface for installing the new fan. I used Goo Gone and rubbing alcohol and probably spent a good 15 minutes getting the surface cleaned of all the old caulk.
Before you install the new unit, you’ll need to wire it up. Several thoughts on this. I usually solder most connections, but the directions recommend electrical butts. I decided to use ANCOR 22-18GW butt connectors with heat shrink over them in the event I ever need to remove these in the future.

The new unit is color coded, black + white, just match them up.
After you’ve got it wired, I’d recommend you test that the unit turns on before you go about installing it.
If it’s a success, move on to the next part.
You’ll now use #8 screws and our Loctite to secure it to the roof. You’ll want to apply a nice medium beed of Loctite around the base of the new fan. You do not want to use to much otherwise you’ll have tons of caulk blowing out the sides when you tighten it down.

Put in two screws to help you guide it back into the original holes on your roof. Once you have two of the screws lined up with the original holes, put in all the other screws and leave them loose.
Once they’re in, go about tightening it like you would a car tire. In a star pattern, jumping to opposite sides for each screw you tighten. This will make sure your caulk is evenly distributed.
Hopefully you’ve still got your wet rag handy. Once you’ve got all the screws tightened down, wet your index finger and drag it along the caulk, smoothing it our around the base of the exhaust fan and pulling excess outwards. Use your rag to wipe your finger and excess caulk.
**DO NOT** apply any additional caulk to the base just yet.

I advise you let it dry for 24hrs so that the caulk properly cures.
After proper curing time has passed, we can come back and apply a second beed around the outside. I used Premium Quality Sealant White around the outside. Just one nice beed smoothed over with my finger and a wet rag.

There is a reason I used black Loctite first to seal the fan and then the white caulk on the outside. White caulk is easier to detect holes or gaps that could cause problems in the future.
After you’ve finished with your outer beed, go ahead and install the vent cover. Now is another good time to test the unit to make sure it’s working.
After that, you can go ahead and reinstall the cover inside your Airstream.
That’s all there is to it. Good luck!